 Save
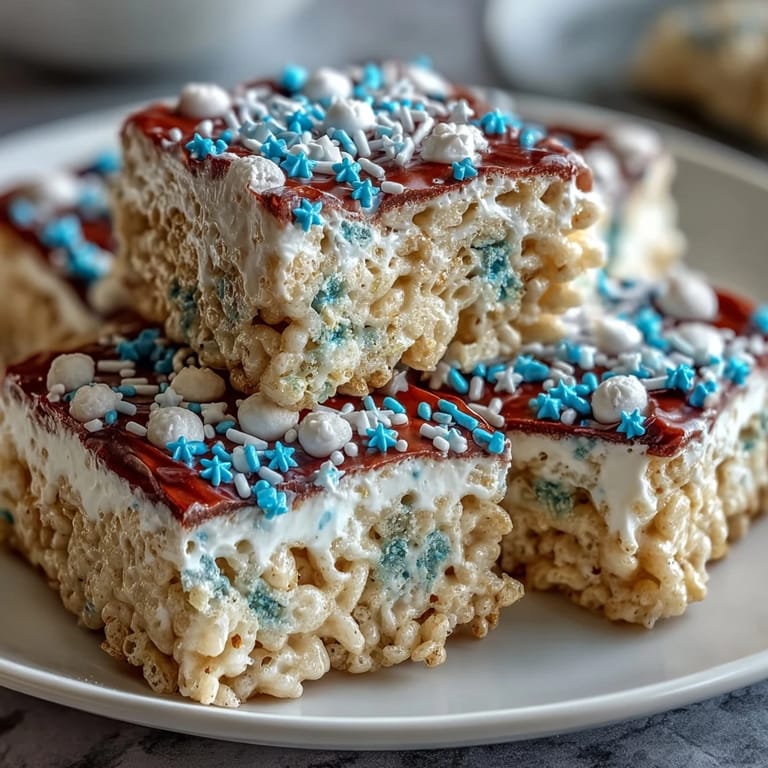
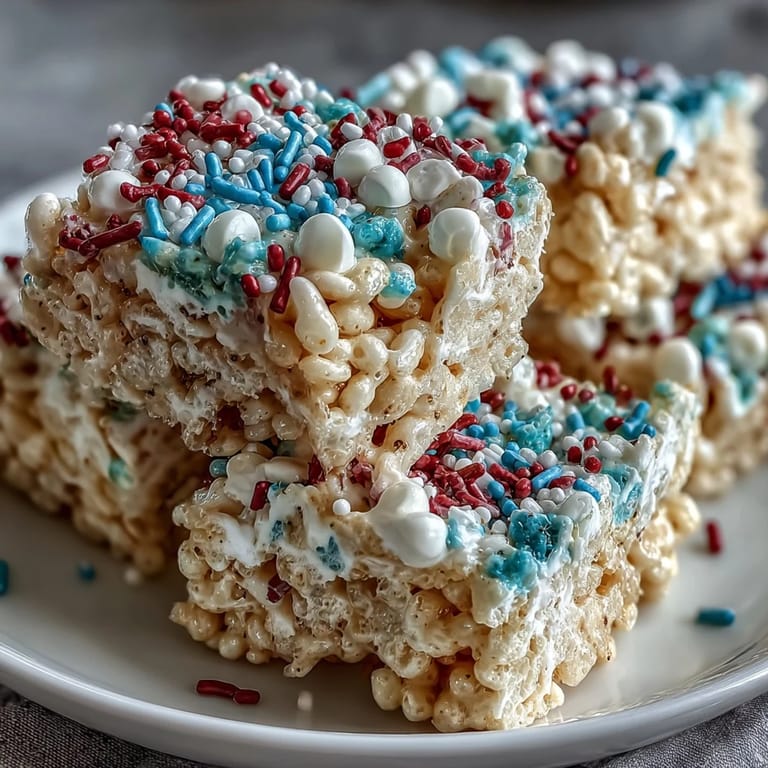
Save Every Fourth of July, my kitchen transforms into a patriotic assembly line, and these layered Rice Krispies treats are always the first thing I make. There's something magical about watching three distinct colors come together in one pan—it feels less like cooking and more like creating an edible flag. My kids hover around the counter, fascinated by how the marshmallows melt and transform, asking a hundred questions about why we use gel coloring instead of the liquid stuff. It's become our tradition, the one dessert that makes everyone smile before we even taste it.
I'll never forget the year my neighbor asked if she could help press the layers, and we ended up doing it together while our kids ran around the backyard. She discovered that slightly warm hands actually work better than greased ones—the marshmallows stick just enough without being unruly. That small observation saved me from the wrestling match I usually have with the middle layer, and now it's become her secret technique she swears by.
Ingredients
- Rice Krispies cereal, 6 cups: The foundation of everything—use fresh cereal from a new box if you can, as stale cereal won't have that satisfying snap and crunch.
- Mini marshmallows, 1 (10 oz / 283 g) bag: Mini ones melt faster and more evenly than full-size, which matters when you're dividing into three portions and want consistent texture.
- Unsalted butter, 3 tbsp divided: Each tablespoon gets its own color layer, so don't skimp—it's what binds everything together and makes them actually chewy.
- Vanilla extract, 1/2 tsp: This goes only in the white layer and quietly elevates it from bland to something you'll actually remember tasting.
- Red gel food coloring: Gel is essential here because liquid coloring will make your mixture soggy and ruin the texture you're working toward.
- Blue gel food coloring: Same rule as red—gel only, and a little goes a long way, so start with just a few drops.
- Red, white, and blue sprinkles, optional: If you add them, do it while the top layer is still slightly warm so they stick without sinking.
Tired of Takeout? 🥡
Get 10 meals you can make faster than delivery arrives. Seriously.
One email. No spam. Unsubscribe anytime.
Instructions
- Prepare your pan:
- Line a 9x9-inch baking pan with parchment paper, leaving a little overhang on two sides so you can lift the whole thing out later. Lightly grease the paper with butter or cooking spray so nothing sticks.
- Divide everything into thirds:
- This is worth doing before you start cooking—measure out three portions of marshmallows (about 3 1/3 cups each) and set aside one tablespoon of butter for each color. It prevents the scramble later.
- Make the red layer:
- Melt one tablespoon of butter in your saucepan over low heat, add your first batch of marshmallows, and stir constantly until they're completely smooth. Once melted, add a few drops of red gel coloring and stir until you get a shade you love—it'll deepen slightly as it cools, so don't overdo it.
- Fold in the cereal:
- Add two cups of Rice Krispies to your red marshmallow mixture and stir until every piece is coated and glistening. Press this mixture firmly and evenly into the bottom of your prepared pan, using either your greased hands or a spatula to flatten it into a thin, compact layer.
- Make the white layer:
- Wipe your saucepan clean with a paper towel, then repeat the melting process with your second tablespoon of butter and marshmallow portion. Instead of food coloring, stir in the vanilla extract for a subtle flavor boost that makes this middle layer special.
- Add cereal and layer:
- Fold in two cups of Rice Krispies just like before, then gently but firmly press this white mixture over the red layer. Work carefully here—you want it compressed enough that it holds together, but not so hard that you crush the layer below.
- Make the blue layer:
- Wipe your pan one more time, melt the last tablespoon of butter with your remaining marshmallows over low heat. Add blue gel coloring drop by drop until you reach your desired shade, keeping in mind it'll be the most visible layer once you've finished.
- Complete the stack:
- Mix in your final two cups of Rice Krispies, then carefully press this blue layer over the white one as evenly as you can. This top layer is your visual moment, so take your time making it look intentional.
- Add sprinkles and cool:
- If you're using them, scatter red, white, and blue sprinkles over the top while everything is still slightly warm—they'll adhere better. Let the entire pan sit undisturbed at room temperature for at least one hour until it's completely firm.
- Cut and serve:
- Use the parchment paper overhang to lift the whole treat slab onto a cutting board, then slice into 16 even squares with a sharp knife. Serve immediately or store in an airtight container, where they'll keep for up to three days.
 Save
Save There was a Fourth of July when my sister-in-law bit into one of these treats and closed her eyes for a second, then said, "This tastes like summer to me." That moment changed how I think about these—they're not just patriotic decorations, they're edible memories that somehow capture the exact feeling of celebration and togetherness.
The Secret to Perfect Layers
The single biggest difference between mushy treats and perfect ones is patience between layers. I learned this the hard way when I tried to speed things up and pressed the white layer onto barely-set red—everything smashed together into a muddy mess. Now I give each layer a solid minute or two to firm up just enough before adding the next one, and the results are night and day. It's a small pause in the process, but it completely changes the outcome.
Why Gel Coloring Actually Matters
The first time I used liquid food coloring because I thought it would be fine, I ended up with treats that looked perfect but felt like sponges. Gel coloring has much less water content, so your marshmallow mixture stays the right consistency instead of becoming watery and unstable. After that disaster, I kept a bottle of each color gel on hand for anything I make during patriotic season.
Storage, Flavor Variations, and Party Tricks
These treats are actually even better the next day once they've fully set and the flavors have time to meld together. Keep them in an airtight container at room temperature, and they'll stay fresh for three days—though honestly, they rarely last that long at our house.
- For a salty-sweet twist, use salted butter instead of unsalted, or sprinkle a tiny pinch of sea salt over the white layer before adding the blue.
- If you want to make these your own, try adding almond extract instead of vanilla to the white layer, or even a hint of lemon zest mixed into the marshmallows.
- Cut them into smaller rectangles instead of squares and stack them on a platter with a tiny American flag pick poked in the top—they become instant party centerpiece magic.
 Save
Save These treats have become the unexpected anchor of our Fourth of July tradition—the thing everyone asks about before the fireworks even start. There's something about making them from scratch that turns a simple dessert into a moment.
Recipe Questions & Answers
- → What type of food coloring works best?
Gel food coloring is recommended for vibrant colors without making the mixture too wet.
- → Can I use salted butter instead of unsalted?
Yes, using salted butter adds a subtle flavor but adjust any added salt accordingly.
- → How should I prevent the mixture from sticking to my hands?
Lightly grease your hands or use a spatula when pressing the layers to avoid sticking.
- → How long should I cool the layered treats?
Allow them to cool and set for at least 1 hour before slicing to maintain shape.
- → Can I add decorative toppings?
Yes, red, white, and blue sprinkles can be added while the top layer is slightly warm for decoration.