 Save
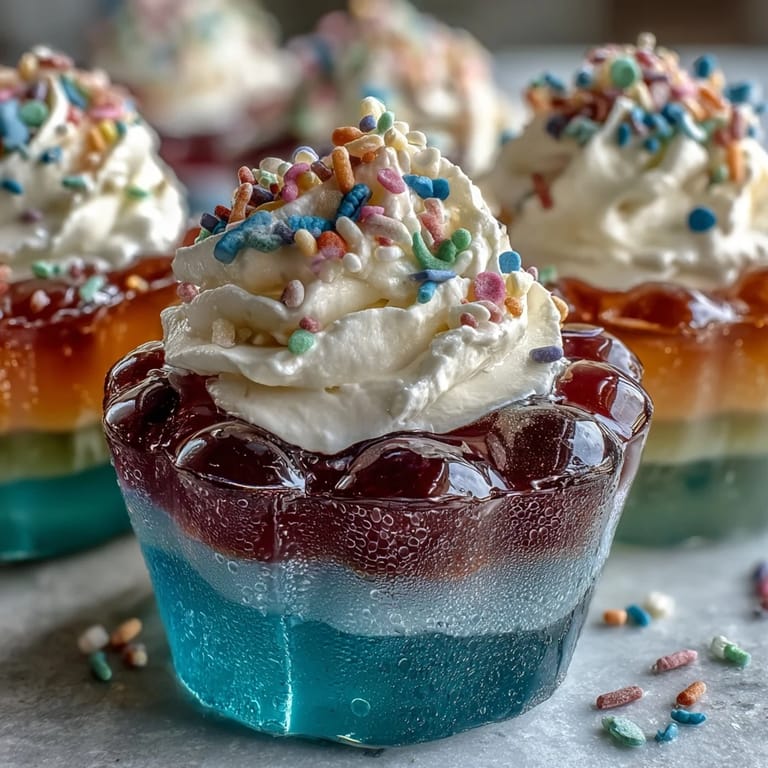
Save The sound of giggles and eager footsteps trailing through the kitchen has always been my cue for making Rainbow Jello Cups. The first time I layered Jello for a kids' party, I remember the way the bright colors seemed to wake up the whole room, even before dessert was served. It isn't just about the colors—there's a patient rhythm to waiting for each layer to set, and a certain thrill in watching those edges turn glossy and clear. The scent of boiling water can somehow mingle with the sweet fruity aroma, making the kitchen quietly festive. These cups are as much a treat for the eyes as they are for the taste buds, and that playful spirit always takes over when I'm assembling them.
One afternoon last spring, I made these Jello cups for my niece and nephew—not as a holiday treat, but simply because they wanted "something colorful" on a rainy day. The most memorable part was watching them line up their cups in a row, comparing whose had the "most perfect layers." We ended up laughing over a few wonky stripes, but no one minded in the slightest. The cups were gone in a flash, the sprinkles scattered like confetti, and the kitchen felt instantly brighter. It was the kind of moment where dessert brought everyone to the same table, rain or shine.
Ingredients
- Purple (grape) Jello: This layer forms the base and sets the rainbow tone—I've learned that giving it enough time to set avoids blending colors.
- Blue (berry blue) Jello: The cool shade pops in a clear cup, and letting it dissolve fully prevents gritty spots.
- Green (lime) Jello: Lime adds a tart kick, so it's great for balancing the sweetness—make sure it's fully mixed so that each layer stays transparent.
- Yellow (lemon) Jello: Lemon brings brightness; if you pour gently along the cup’s edge, it won’t disturb the layer beneath.
- Orange Jello: This layer has a sunny flavor, and patience between layers ensures crisp stripes.
- Red (strawberry) Jello: Strawberry sits at the top like a crown—use a steady hand to avoid drips down the side.
- Boiling water: Essential for dissolving the powder; always stir until it's completely clear.
- Cold water: Quick cooling helps each mixture set properly—avoid skipping this step.
- Whipped cream or whipped topping: Adds a creamy finish and helps anchor the sprinkles; keep it chilled for best texture.
- Rainbow sprinkles: Optional, but they make each cup feel extra festive—my tip: sprinkle just before serving for crunch.
Tired of Takeout? 🥡
Get 10 meals you can make faster than delivery arrives. Seriously.
One email. No spam. Unsubscribe anytime.
Instructions
- Start the Purple Layer:
- Combine the grape Jello with boiling water in a mixing bowl, stirring until the powder completely dissolves. Add the cold water, then pour a layer into each clear cup—watch for those deep violet ripples as the mixture settles.
- Let it Set:
- Slide the cups into the refrigerator and wait 30-40 minutes; the surface should feel firm when gently tapped, with no liquid clinging to your finger.
- Build the Blue Layer:
- Prepare the berry blue Jello, stir in cold water, and gently pour onto the purple layer, aiming to avoid any splashes—it’s satisfying to see two colors stack cleanly.
- Layer Green, Yellow, and Orange:
- Repeat the mixing and chilling process for each flavor. Pour slowly, letting each previous layer cool entirely before adding the next, so the rainbow doesn’t blur.
- Top with Red:
- Finish mixing the strawberry Jello and gently add it, watching the layers come neatly together. Chill until all layers are set and firm to the touch.
- Add Toppings:
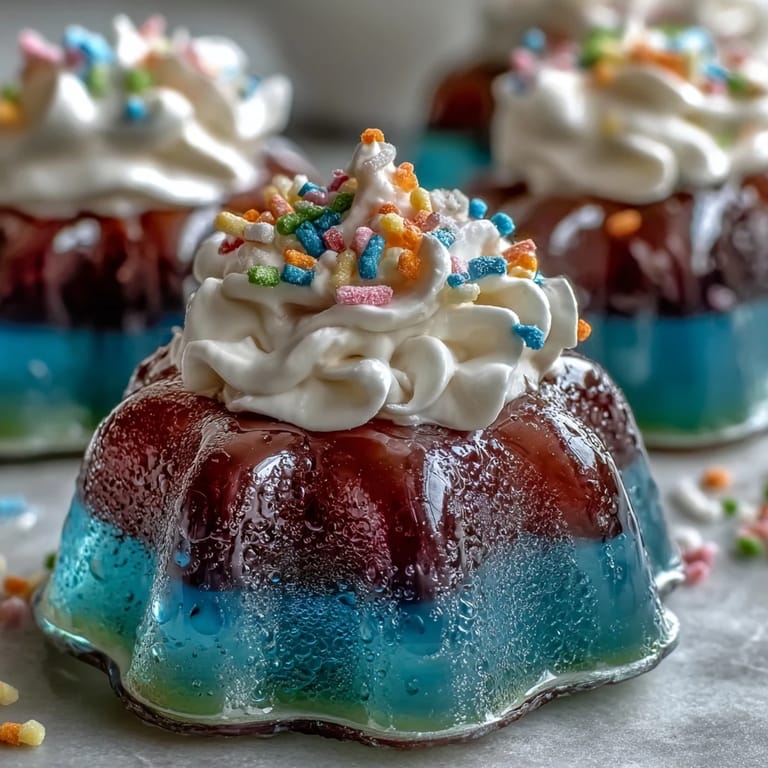
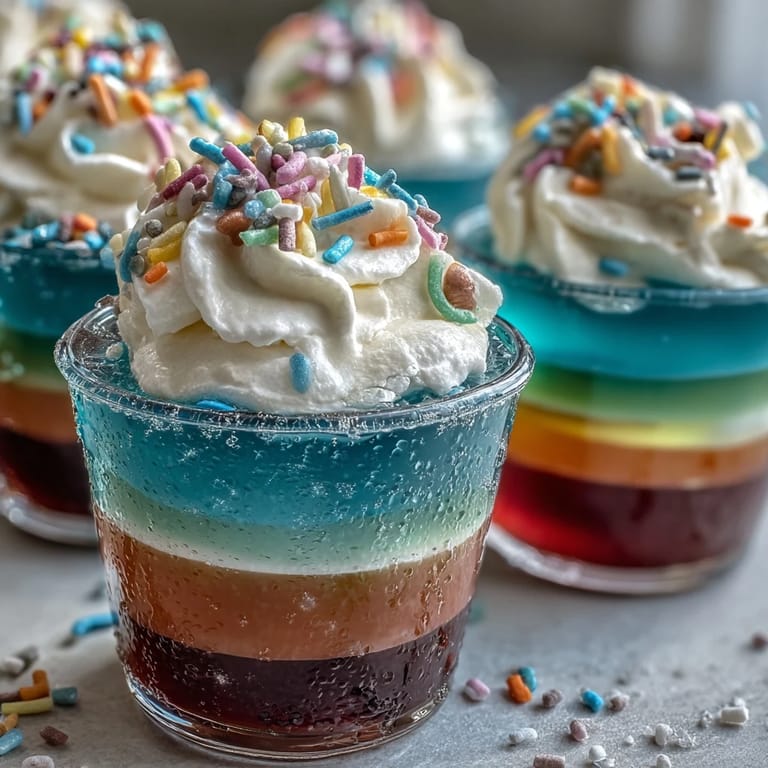
- Swirl whipped cream over each cup and cascade rainbow sprinkles for extra sparkle—kids are often eager to help with this part.
- Serve and Enjoy:
- Keep cups chilled until serving time. The first spoonful is always a little surprise as each layer emerges.
 Save
Save There was a birthday party where these Jello cups became the star, brightening up a table laid out for kids and parents alike. By the end of the celebration, even the adults were requesting seconds, and the dessert earned a spot in my “easy win” recipe list. The rainbow layers sparked conversations and laughter, making the kitchen feel like a little slice of magic. It’s funny how simple colors can draw people together. Now, when someone asks for "that fun dessert," I know exactly what they're after.
A Rainbow for Every Occasion
I've learned these cups aren’t limited to birthdays—they work wonders at picnics, family reunions, or as a surprise after a long school day. Swapping flavors keeps things interesting, and the vibrant colors always prompt happy reactions. There’s practical joy in setting out clear cups and seeing the rainbow take shape. Even fussy eaters are drawn in by curiosity. Making them is a hands-on project that little helpers love.
Color Coordination Tricks
If you ever have trouble keeping layers neat, aim for thinner pours and let gravity do its work. Using measuring cups with spouts helps avoid drips, and a steady hand pays off during assembly. Sometimes a layer might slip or mix, but a little patience usually delivers those crisp stripes. Chilled bowls speed up setting for quicker results. Each step becomes easier the more you practice.
Making It Allergy-Friendly
Adapting these Jello cups for dietary needs is simpler than you’d guess. Dairy-free whipped topping is readily available, and sugar-free Jello works like a charm for lighter treats. Just remember to double-check ingredient labels if allergies are a concern.
- Add sprinkles right before serving to keep them crunchy.
- If making ahead, cover cups lightly with plastic wrap in the fridge.
- Let kids join the layering—it’s more fun (and messier) together.
 Save
Save If you try these Rainbow Jello Cups, don’t forget to celebrate the process as much as the result. Every colorful spoonful is a small joy—especially when shared.
Recipe Questions & Answers
- → How many layers are in each cup?
Each cup features six colorful layers: purple, blue, green, yellow, orange, and red.
- → Can I use different flavors or colors?
Yes, you can mix and match Jello flavors or colors to suit your preference, as long as they complement each other.
- → How long does each layer need to chill?
Each Jello layer typically requires 30–40 minutes in the refrigerator to fully set before adding the next layer.
- → Is there a dairy-free topping option?
For a dairy-free version, use coconut whipped cream or any non-dairy whipped topping.
- → How do I serve these cups?
Once chilled and topped with whipped cream and sprinkles, serve the cups cold for best texture and flavor.
- → Can I make them ahead of time?
Yes, prepare the cups and store them in the fridge for up to two days before serving.